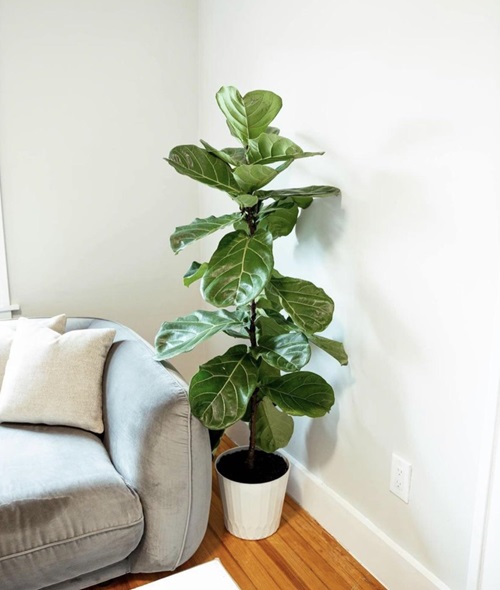
While these trees might look too big, here’s the perfect article on how to plant and care for fiddle-leaf fig trees at home!
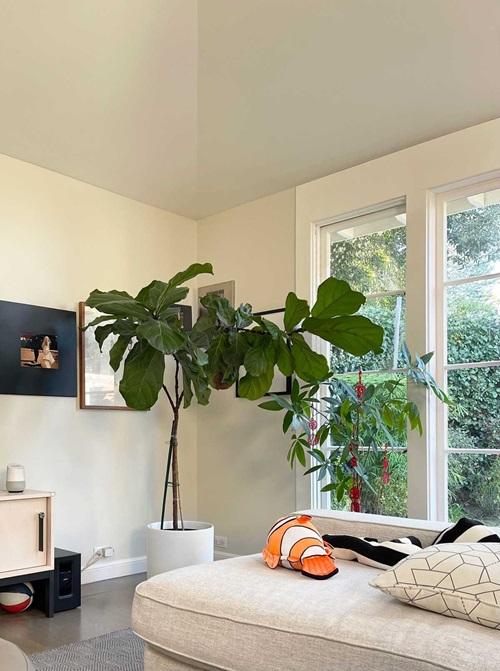
The huge structure of the fiddle-leaf fig is often construed as both a boon and a bane in the plant world. While it can make for an awesome architectural statement in your living room, you might just be intimidated by the sheer size of the plant. But there are a couple of good news. Firstly, some varieties of this plant do not grow as tall as 6 feet and don’t grow as bushy, such as the ‘Compacta’ and the ‘Suncoast.’ Secondly, it may have some specific requirements, but here we have a detailed description of how to plant and care for fiddle-leaf fig trees at home!
How To Plant And Care For Fiddle-Leaf Fig Trees
1) Location Is Of Utmost Importance
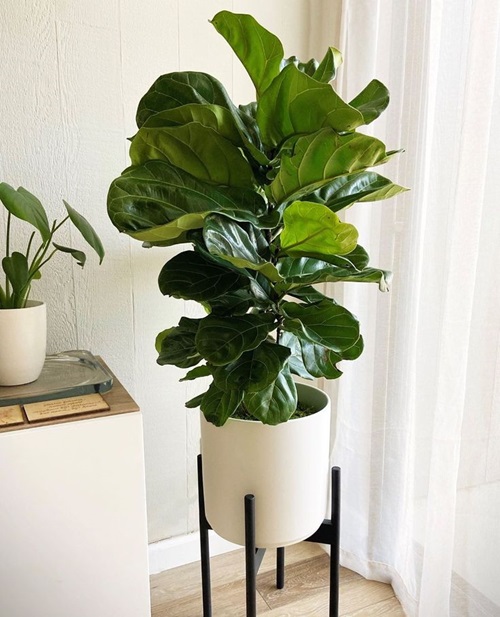
The absolutely best spot for your fiddle-leaf fig at home would be near a bright window obscured with a sheer curtain. The fiddle-leaf fig loves A LOT of bright, indirect sunlight, as its native habitat lies in the tropical African rainforests. Moreover, it cannot tolerate drafts, so ensure that you situate your plant away from hot and cold air vents and a drafty window.
These plants are creatures of habit, so they will happily establish themselves quite well once they like a spot. Ensure that you rotate the plant slightly once a week so that each part of the plant grows evenly instead of starting to bend toward the light source.
Pro Tip: When you bring a new plant home and relocate it, the plant may get transplant shock, which you likely won’t notice for a month or two. If the leaves look brown and dull and if the watering and lighting have been on point, it could be a matter of properly acclimatizing the plant.
2) Clean The Leaves
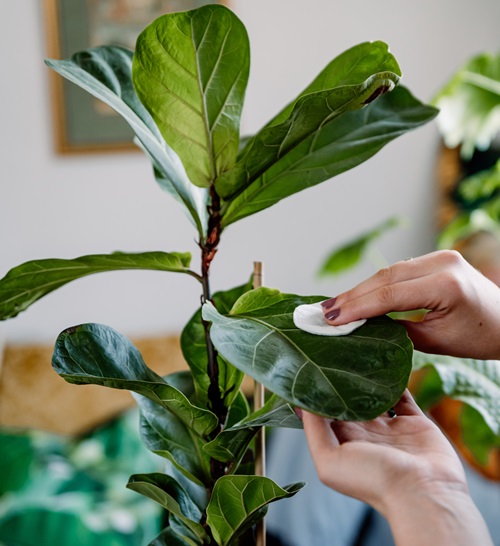
With regular misting, the leaves of your fig tree might start showing water spots. In case you haven’t had a chance to clean your fig tree leaves for a while, and they have accumulated dust, it would be a good idea to take a damp washcloth and gently wipe down each leaf. You might have heard that using coconut oil might be a good idea, but it is unnecessary. In fact, coconut oil, over a long period of time, might even suffocate the leaves. Dust the leaves every month to keep pests like spider mites and other pests at bay.
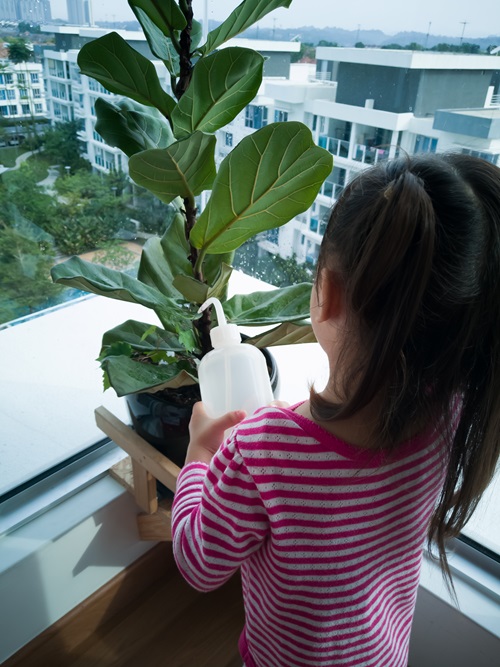
3) Ensure The Right Humidity Levels
As mentioned before, fiddle-leaf fig trees are native to tropical rainforests, thriving in a greenhouse-like warm and humid environment. But that does not mean your fig trees will die out if you grow them at home. When growing this plant indoors, all you need to ensure is a humidity level of 40%. If your home environment is drier than this, you should mist your plant weekly.
4) Ensure Proper Watering
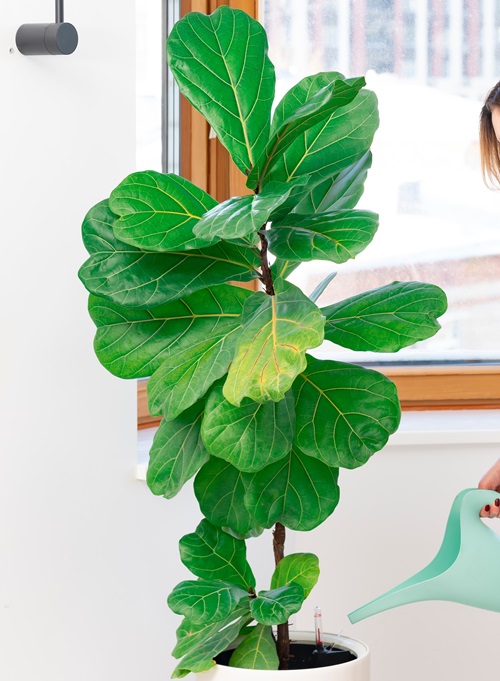
Fiddle-leaf figs are very sensitive to overwatering and waterlogging. Basically, if you are trying to kill your plant, overwatering would be the first route, and the second would be not allowing proper drainage. To keep your plant looking its best, you should water it thoroughly once a week or every 10 days, letting the excess drain away from the drainage holes in the pot. In their native habitat, the fig trees receive a sudden deluge of rainwater with dry spells in between, and that is what you would want to replicate at home too.
Another way to water your fig tree is to set it over a plant stand over a drip tray. In any case, you must ensure that the roots do not sit in water for long periods. If you’re ensure of when to water again, you must do the 2-finger test. Just insert your finger in the top 2 inches of the soil. If it’s wet, your plant is not thirsty. If the soil is dry, it is time to water your fig. Another way you can gauge the moisture in the soil is by buying an inexpensive soil moisture meter and water when the meter reads almost dry.
5) How and When to Fertilize
If you have started growing a fiddle-leaf fig at home in spring or summer, you should fertilize monthly with a fertilizer with an NPK (nitrogen-phosphorus-potassium) ratio of 3:1:2. When using this fertilizer, be sure to follow the manufacturer’s instructions and dilute it accordingly. Avoid fertilizing during the fall and winter when the plant is dormant, as too much fertilizing can cause root burn. You must also ensure that you use a fertilizer that is specially formulated for the fiddle-leaf fig, aiding in the growth of strong roots and stems.
6) Pruning, Shaping and Repotting
If you want to shape your plant, do it in the spring when it will have the time and energy to regrow. When it comes to pruning, you should cut off the dead leaves so the plant focuses its energy on new growth. Ensure you use gloves and a sharp, clean pair of pruning shears. When cutting leaves, cut the stem at an angle, about half an inch away from the trunk.
While pruning is essential for newer growth, do not prune more than 5-10 leaves at a time to avoid sending the plant into shock. If you want your plant to grow taller, cut or pinch and snap off the bud at the top of the plant. Soon, you will see the sap running, indicating that you’ve done it right. If your tree has gotten too tall, you can cut off the top of the plant, a process known as radical pinching.
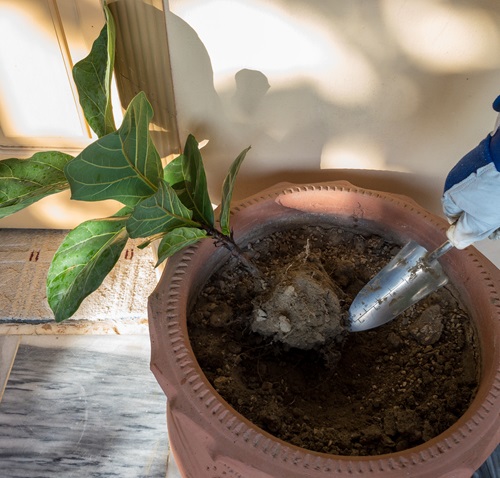
Though fiddle leaf figs enjoy being root-bound and can survive quite well in the pot they come in, you must look out for signs when they might need repotting. If your plant starts to look too big for its pot and the roots start to grow out of the drainage holes, you can safely assume that it’s time to repot your plant. Do it in the active growing season of spring so that your plant can easily get over the transplant shock.
Firstly, you need to choose a pot that is two inches wider than the current pot and one that has proper drainage holes. You can also help improve drainage by adding about two to three inches of stones to the bottom of the new pot. The potting soil you use should also be well-draining. When repotting the plant, push the soil towards the edges, leaving a crater in the middle to accommodate the root ball. While removing the root ball, you should cut down any rotten, brown roots. After loosening the root ball gently in your hand, you should go ahead and place it inside the soil crater of the new pot, topping it off with more soil and leaving an inch between the soil and the lip of the container. Water thoroughly after the transplant.