From wilting leaves to crowded roots, know the signs your orchid needs to be repotted, for a healthy beauty with longer-lasting blooms.
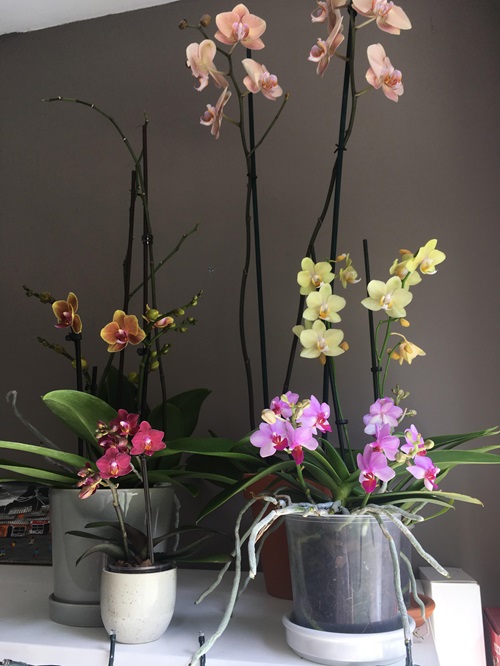

Orchids have recently become a more common houseplant choice among collectors and gardening enthusiasts. The gorgeous floral plant has delicate blooms, so it is important to understand when and how to repot it to avoid causing damage to its leaves, flowers, and roots. Read Signs Your Orchid Needs to Be Repotted with this post.
Signs Your Orchid Needs to Be Repotted
Orchid plants need repotting for factors like: After buying them from the store, when the potting mix breaks brown or if the plant is outgrowing the container or pot, and several more reasons. This guide will help you learn to read the signs of your orchids with repotting and step-by-step instructions on how to repot with some helpful tips.
1. When Your Orchid Plant Outgrows the Container
Well, this is a good sign that your orchids are outgrowing the pot or container, that means you are a good caretaker of your garden. However, you need to repot them in a larger container with a good orchid mix for better growth and development. So, here are some signs that you should notice to learn that your orchids are outgrowing the container:
- When the plant grows big enough the top becomes heavier than the container.
- If you notice white roots growing out of the drainage holes in the container.
- Sometimes the orchid roots get overcrowded and cause the plant to push out of its pot. This indicates that it needs a larger pot.
- If you notice that the roots are tightly tangled then too it needs repotting. However, orchid roots seem to grow naturally tangled but sometimes, the root bound becomes compact and tight which is not a good sign.
2. Routine Change of Potting Mixture
This is such a factor that if not paid attention to it will stop the growth of healthy stems, foliage, and flowers. Because that is where they are getting the nutrients and energy to thrive and bloom.
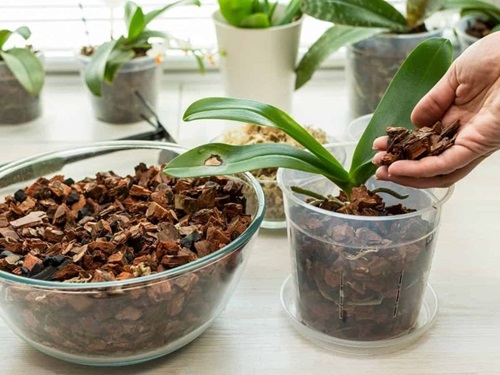
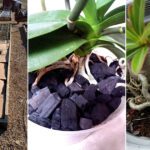
Unlike other houseplants, the potting mix for orchids is different, it contains a lot of chunk materials like coconut coir and chunks, sphagnum moss, charcoal chunks, bark chips, and so on. This helps to provide drainage and enough space for orchid roots to grow and absorb air as well as nutrients.
When you notice that these materials have broken down into smaller pieces then you need to change this medium or potting mix as it indicates that the potting mix has less drainage, less nutrients, and less aeration which is not a good sign for your orchids.
How to Repot Orchids- A Step-by-Step Guide
Types of Equipment/ Tools
- Gloves
- Containers or Pots
- Potting Mix or Medium
- Trowel
- Pruners
1. De-pot the Orchid
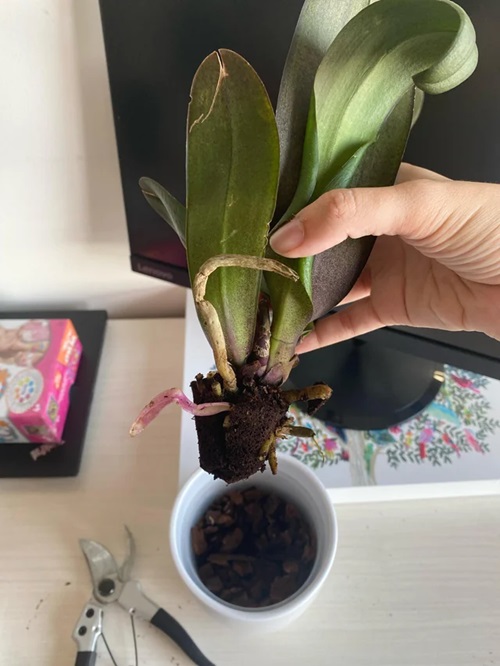
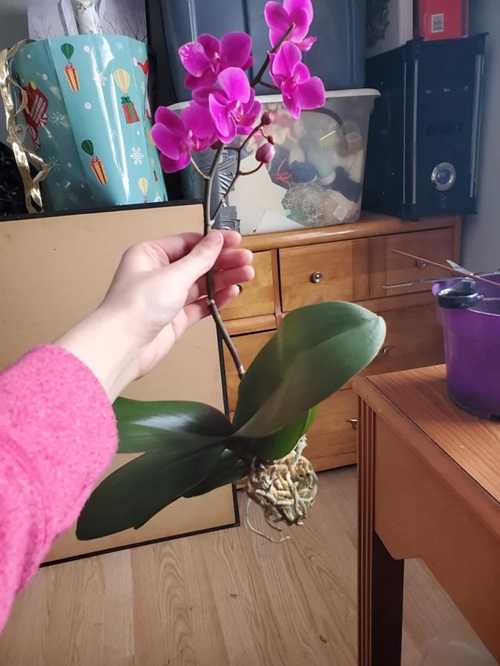
First off, gently take out the orchid from its pot by holding the plant close to its roots and pulling it out carefully. Please do not pull your plant by holding on to a single leaf, it will break the leaf.
2. Separate the Root Ball
With the help of your hand, slowly try to detangle a few tight roots and separate the medium from the roots. Remove as much of the medium from the roots as possible. Then carefully use a sterile pruner to cut off the dead roots that look soggy, brown, or black.
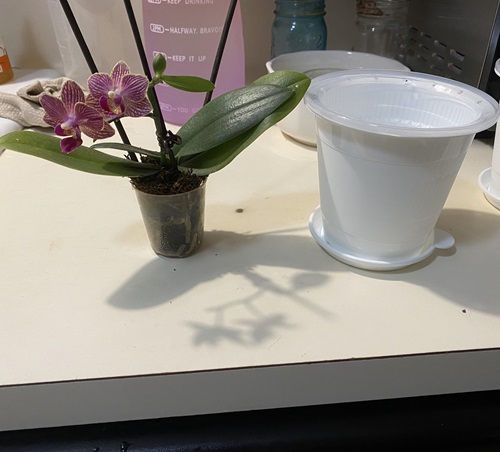
3. Prepare the New Pot
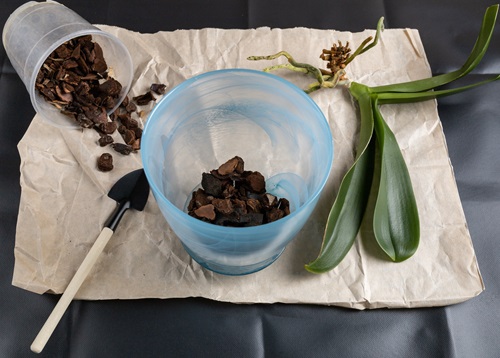
Take a large pot size for your orchid and make sure it is larger than the earlier pot. Prepare a good potting mix separately with equal amounts of coconut coir or chunks, bark chips, charcoal chunks, cocopeat, and sphagnum moss. This is the best combination for an orchid potting mix.
Pro Tip: Choose a pot that is 1-2 inches larger in diameter than the earlier pot. There are orchid-specific pots available in the market that have too many drainage holes. You can also go for terracotta pots.
4. Repot the Orchid

Fill the base of your pot with some of the potting mix you had prepared and then place your orchid into the new pot ensuring that the base of the leaves sit above an inch below the pot’s rim. Now, gently add fresh orchid potting medium around the roots of the plant, and try to cover with it till the top. Tap the pot gently on a table or flat surface so that the potting mix settles properly with the roots.
5. Watering
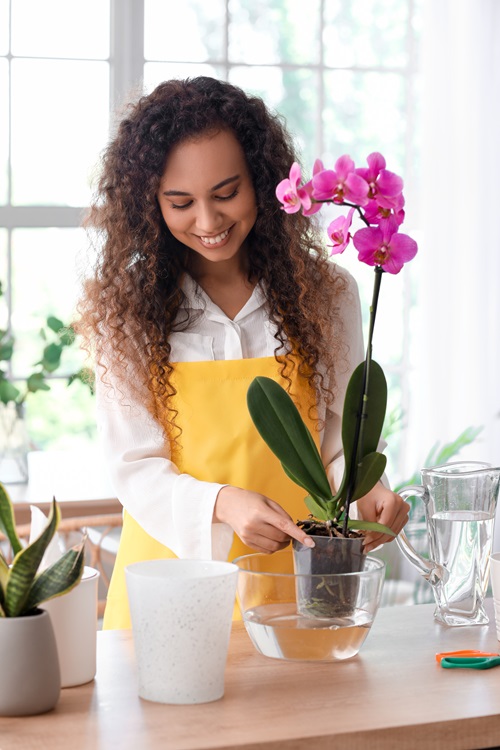
Water your repotted orchid properly, and let the excess water drain out from the pot. Take room temperature water and pour gently, or you can also half dip the pot in a bowl with water so it can absorb water from below. This also helps in sufficient absorption of water, but forget to let the water drain out.


I just received my first orchid plant today so this was timely information
Can you repot when they are in full bloom? Mine look so well and in full bloom at the moment.